Sonic Design - Project 2
21/06/2024 - 11/07/2024 // (Week 9 - Week 12)
Denise Anjali // 0342430
Sonic
Design // Bachelor of Design in Creative Media
Project 2: Audio
Storytelling
LECTURES
Week 9
For Project 2, focus on the storytelling and voice acting. Avoid using clips for the visuals to reduce the need to add sound effects that match the animation; stick to static images and add sound effects and music to enhance the story.
Cleaning up - remove background sound, speaking sounds. Compression - makes the loudness of an audio more consistent. Normalization - normalise the volume to the loudest volume.
Cleaning up speaking sounds involves selecting certain sections by selecting and reducing the volume of anomalies.
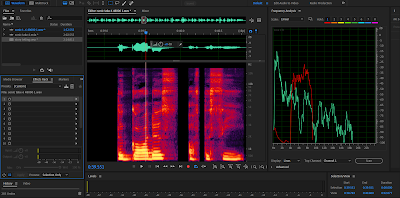
To clean up background sound, find the noise print of the background noise then: effects > noise reduction > capture noise print; effects > noise reduction > noise reduction process > adjust percentage to reduce.
Compression: effects > amplitude and compression > dynamics > √ compressor > set the the threshold (the maximum volume before reducing the volume), attack (how quickly to reduce the volume), ratio (the amount of volume reduced), release (how quickly to return to normal volume) > gate (certain levels of sound are let through). Don't compress to much, too close to the background noise and will cause it to become more
INSTRUCTIONS
Project 2: Audio Storytelling
This task requires us to choose a popular fairy tale or folklore and narrate the story with an accompanying flipbook. The visuals do not need to be very flashy but there should be a balance of narration and music/sound effect to enhance the storytelling. The video is maximum 2 minutes long.
The tale I chose is from a popular Netflix series, 'Dead Boy Detectives' and it is called the tale of Tragic Mick. I wrote out the script according to the show's subtitles but changed the perspective of the story to third person as well as added some lines to make it less visual based.
Story script PDF
I recorded the narration by myself using my phone's audio recorder app. I
struggled with finding a quiet space but eventually settled on recording it
under a blanket in my room. It took a few takes and settled on using the
final take.
Raw recorded narration audio

Noise reduction process in Audition
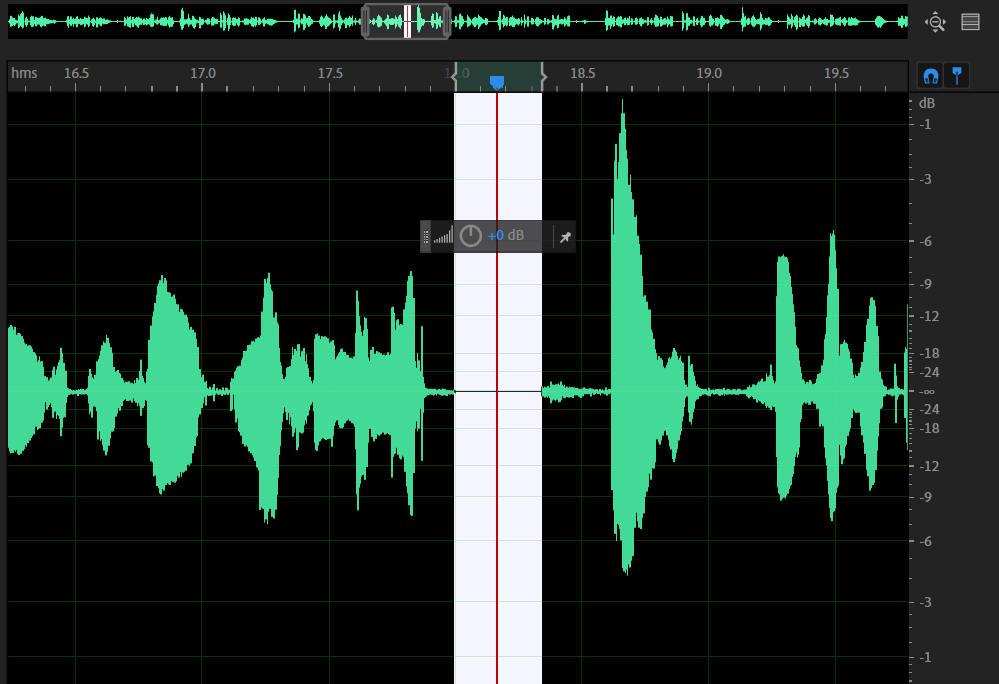
Then I cleaned up any mouth sounds and harsh consonants by reducing the
volume of certain parts of the waveform as demonstrated in class. I also
reduced some of the peaks in volume.
Cleaning up sounds in the narration
 Reducing spikes in volume

Cleaning up sounds in the narration

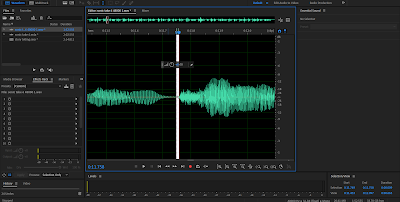
I also learnt about the DeEsser tool in Audition from a senior's
blog. After watching a tutorial on the tool on Youtube, I found it
easy to follow along with and applied it to my work. I noticed that
I tend to have a habit of stressing strong consonants in words so
this effect was really helpful in reducing all the sibilance in my
audio.
After using DeEsser in Audition

After using DeEsser in Audition
Narration audio after cleaning it
Now came time for the main issue of the task, balancing the
narration with sound effects and music. I focused on the sound
effects first, using sounds from freesound.org and pixabay as
usual.
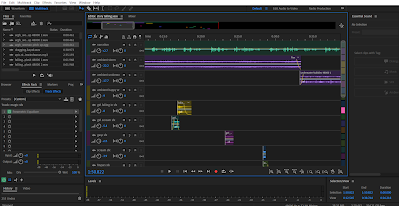
Arranging sound effects on Audition

Arranging sound effects on Audition
For the music, I searched Youtube for non-copyright songs
that might fit the mood of the various sections of the
story. Using those songs, I trimmed them down to fit the
story flow. I also linked them to a bus track to adjust
their volumes as a whole so as to not overwhelm the other
aspects of the audio.

Music and music bus track in Audition
Final audio storytelling MP3

Music and music bus track in Audition
Final audio storytelling MP3
I sourced the visuals from screenshots off the Netflix show and used After Effects to arrange the timing of each frame to the audio. Using After Effects is simpler for this purpose given that only static images are being used. Given that the images are not in standard 1080p size, I used 2 black rectangles to make the gaps of the top and bottom consistent.

After Effects workspace
Final audio and video storytelling MP4
REFLECTION
Experience:
Observations:
Findings:


Comments
Post a Comment